Showing posts with label recipes. Show all posts

Monday, January 31, 2011

Spanish Rice (I'm No Pioneer Woman)

My dad is known for his spanish rice.  He makes it ALL the time, and I've grown up eating it for as long as I can remember.  I can't believe I used to actually hate his spanish rice, but that's a thing of the past.  In fact, I would eat so much of it whenever I'd go home to visit, that I finally decided I needed to learn his "recipe."

Thing is, there's not a written recipe. 

So about this time last year, when I was visiting my parents, I had him show me how to make it.  I didn't write it down, so this is probably not exactly the way he does it, so this is my version of my dad's spanish rice.

And as the title of this thread says, I'm no Pioneer Woman, but I figured her style of explaining a recipe through photography would work well for this.  So here goes...

Here's what you need.  We'll talk about amounts as we go...

1 bunch of green onions
1 green bell pepper
28 oz can of diced tomatoes
white rice
brown rice
soy sauce (optional)
chicken broth
vegetable oil
olive oil
salt
cayenne pepper (optional)

Before you even turn on your burner, go ahead and prepare everything, so it's ready to throw in the skillet.  The rice can burn really easily, so this way, you don't have to worry about not being able to watch it as you chop something, or measure something.

So chop your green onion and bell pepper, but keep them separated, because you'll add them at different times...

Okay, turn on the burner.  I usually keep mine on about 6 or 7 (gas stove), but of course, do whatever works with your stove.  You want it a little higher than medium heat.

Pour enough vegetable oil to cover the bottom of your pan...
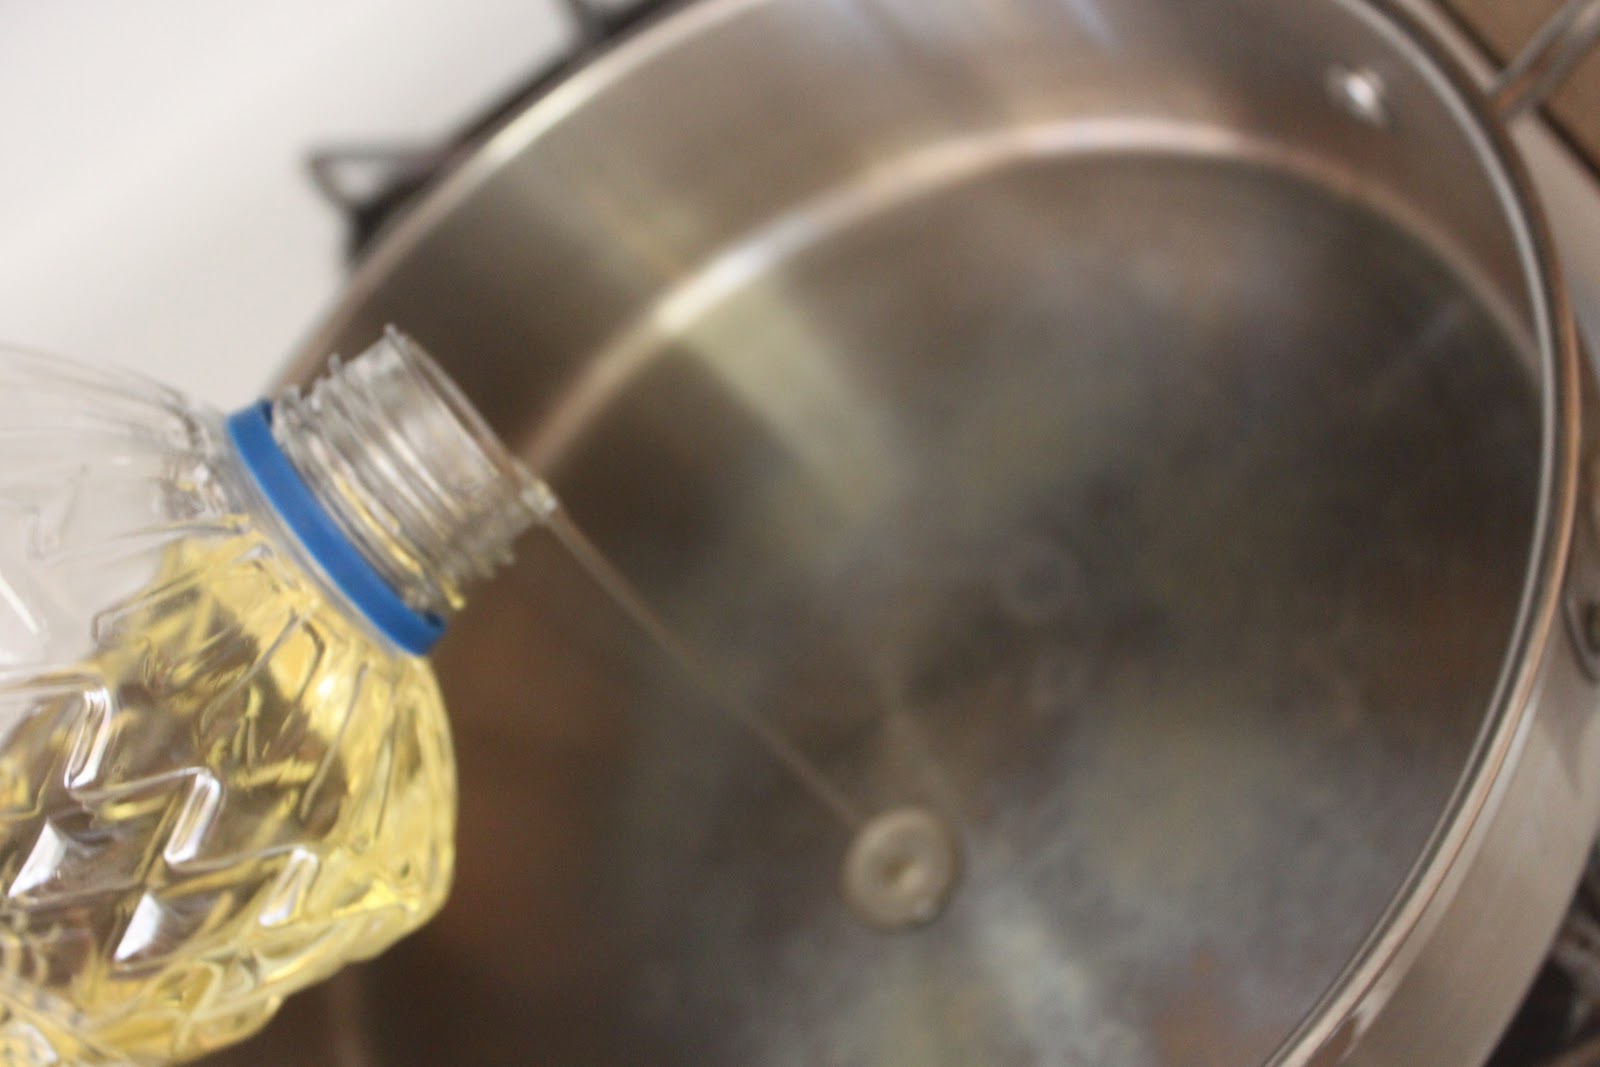


After the oil gets hot, add the white rice.  I use about 1 cup.


Try to coat it evenly around the surface of the pan. 


You want the white rice to get browned.  Get it?  It should look something like this...


After it's been browned, add the brown rice...I use about 3/4 cup.


Stir the brown rice to incorporate it with the browned white rice and the oil. 


At different points throughout, you may need to add a little bit more oil, just to prevent burning.  I usually add olive oil when I do this.  This would be one of those times....


Add the green onions...


Stir, and then let the onions cook for just a little bit...maybe a minute..


During that minute, you might want to add some more olive oil.  Basically, if the pan starts looking too dry, I add just a little oil...


Add the green peppers...


Stir...


My dad likes to add a little soy sauce.  I'm out of soy sauce, so this is where I add in some salt (a little more salt than usual, since I'm not doing the soy sauce)...


To your own taste, and only if you want to, sprinkle a little cayenne pepper.


Do you have your can of tomatoes open yet?  If not, hurry up!  Then you can add them...


Stir...


This is what it should look like so far...


Now it's time to add the chicken broth/water.  How much you add really depends on how much rice you have.  I use about 3 cups.  If you don't have chicken broth, water is fine.  The chicken broth just gives it a bit more flavor...


You want to add enough so that your rice mixture is completely covered, and then some...Kind of like this.


Cover, and turn the heat down a little...


And let it cook for...a while.  I don't know...30 minutes?  I never time my rice.  You want all the liquid to cook out of it, without it burning.  If you're unsure, you can always do the fork check. 


When it's done, it should look like this...


And then fluff it with a fork so it looks like this!


And please, try to wait a little before tasting it, because that stuff is HOT! 

I hope I haven't totally changed the way my dad cooks his rice.  But for what it's worth, he has tasted it, and given it his seal of approval.  It's not exactly like his, but it's pretty darn good.

Enjoy!

Wednesday, July 28, 2010

Starbucks For Less!

I have a new obsession. White Chocolate Mochas from Starbucks. Iced or Hot. As I mentioned before, I'm not a "coffee" drinker, but I need the pick-me-up.

A month or so ago while I was at Starbucks, I randomly ordered a white chocolate mocha. First sip was like, "Whoa! Hello there, coffee!" But as I kept drinking it, I liked it more and more. Then, when we were driving back from Yosemite, Grant needed some caffeine, so I got him an iced version, which was so delicious. Since then, I've been getting a few here and there.

But, man! Those things are expensive! So I got the idea yesterday to try and recreate it.

I got a bag of Starbucks Espresso Roast coffee, and Safeway brand white chocolate hot chocolate mix. When I got home, I experimented a few times, but I think I finally came up with a winner. Well, I think it tastes the same. I'm sure if I got another one from Starbucks, I might find that it's not that close at all, but this version tastes pretty yummy.


Starbucks uses a white chocolate syrup, but I don't have that. That's where the hot chocolate mix comes in. The directions say to use 3 flat tablespoons for 6 ounces of water, but I changed it up a bit. I mixed 3 heaping tablespoons of the mix per 6 ounces of milk. Heat the milk first, then add the mix. That's a pretty thick, syrup-y mixture. The reason I used milk instead of water? Starbucks adds milk to their drink, so this is a good way to get the milk in there without adding extra water. Smart, huh? And the reason I heated the milk, is because I tried adding the mix to the milk while it was cold, and it didn't mix right.

As for the coffee, I pretty much know nothing about brewing coffee. But the instructions on the bag say to use 2 tablespoons per 6 ounces of water. So again, I did 2 heaping tablespoons of ground coffee.

Now the next part is key - at least from what I could tell from my few experiments, I've found it to be key. Refrigerate the coffee and the hot chocolate mixture over night. Because if you add the coffee and the hot chocolate while it's hot to the ice, it melts the ice way too fast, and that waters everything down. And you don't want that.

Then, in the morning when your kids wake you up way too early, you have everything ready to go! Here's how to put it all together.

Put a bunch of ice in a glass, then pour 1/3 cup of the cold hot chocolate mixture, and 2/3 cup of the coffee over the ice (my measurements are generous, so it's a little more than that). Stir together, and you have yourself a nearly identical cup of Starbucks Iced White Chocolate Mocha. Now all I need is one of those Starbucks cups to put it in!

Saturday, May 08, 2010

New Mexico on my mind

About this time last year, on our way back from our San Francisco trip, we went to this restaurant that I saw on "Divers, Drive-ins, and Dives," in a town called Pescadero. On the show, they mentioned this cream of artichoke soup that sounded really good, and they're kinda famous for. So I had my heart on trying that.

Well, when we got there, I saw that they had cream of green chile soup.

I was torn.

Thankfully, they brought us out a sampling of four of their awesome soups, so we could make up our minds.

As soon as that cream of green chile soup touched my lips, I was in heaven! I did not hesitate to order a bowl of that.

It was so good, I just wanted to bottle it up and take it home and eat it every day! But I didn't.

I kind of forgot about it until the other day, and I randomly remembered that delicious soup. So I decided to see if I could find a recipe for it.

I searched for "Duarte's Tavern cream of green chile soup recipe," and sure enough, I found it! From what I can tell, this person basically tried to recreate the soup, and this is as close to the original as she got. Since it's been a year since we've had it, it was hard to remember how close the taste actually was, but nevertheless, it was delicious!

To make it, I had to do something that I never did in the 3 years of living in New Mexico - roast green chiles. I mean, when they have a roaster at Wal-Mart doing it, why do it yourself?

I probably looked a little strange at Von's picking out 20 anaheim chiles, but I was excited.

The roasting definitely took some time, especially since I could only fit 5 chiles on a baking sheet at once, but it was well worth it.

Here are some of my chiles ready to go in the oven.


And here they are after roasting.


This is after they had been peeled.


And here's the yummy soup, with crushed blue corn tortilla chips to add some color! I'm not a food photographer, and I'm not at all happy with these pictures - I tried, but I failed. But I did not fail in making the recipe. If you're a fan of green chiles, I highly recommend it.

Friday, April 09, 2010

Does this mean I'm cool?

I've never been a coffee drink. Actually, I hate it. I've never understood why people drink it.

Then I found this blog the other day..."Like A Warm Cup of Coffee." I watched her video introducing herself, and she said something that struck me. She said she only started drinking coffee a couple of years ago, then she realized that all these years, she wasn't lazy, she was just tired! A lightbulb went off in my head, and I thought that maybe that was the solution for me, too.

But my problem is that I hate the taste.

So, I went to my favorite place - allrecipes.com. Did a search for hot chocolate and coffee in the ingredients search, and found this recipe.

Gunline Coffee

Ingredients
2 cups powdered non-dairy coffee creamer
1 1/2 cups instant hot chocolate mix
1 1/2 cups instant coffee granules
1 1/2 cups white sugar
1 teaspoon ground cinnamon
1/2 teaspoon ground nutmeg
Directions
1.In a large bowl, stir together the coffee creamer, hot chocolate mix, instant coffee, sugar, nutmeg and cinnamon. Store in an airtight container at room temperature.
2.To make 1 cup, spoon 2 heaping tablespoons of the mix into a coffee mug, and add 1 cup of boiling water. Stir until dissolved.


So I went to Target yesterday, got all the ingredients and made my mix (I got Italian sweet cream flavored creamer and Dulce de Leche flavored hot chocolate). It's really good! There's still a coffee flavor to it, but the sugar, chocolate and spices cover it pretty well.

So, I'm on my way to see if this experiment works. I've had my cup this morning, and I'm feeling the caffeine course through my veins as we speak.

Tuesday, March 30, 2010

For the Love of Food!

I've had this ground chicken that I wanted to do something with, but didn't know what. So I did my favorite thing, and went to allrecipes.com, chose the option to search for ingredients, and found this great recipe. It's definitely a keeper!

Zesty Chicken Meatloaf

Ingredients
1 pound ground chicken
2 eggs
1 1/2 cups bread crumbs
3 tablespoons salsa
2 tablespoons Ranch-style salad dressing
1 (1.25 ounce) package taco seasoning mix
1/2 cup shredded Cheddar cheese
sour cream (optional)

Directions
1.Preheat the oven to 350 degrees F (175 degrees C). Grease an 8x4 inch loaf pan.
2.In a large bowl, mix together the ground chicken, eggs, bread crumbs, salsa, salad dressing, and taco seasoning mix. Pack into the prepared loaf pan.
3.Bake for 1 hour in the preheated oven. Top with cheese, and serve with sour cream.

Based on the reviews, the only thing I did differently was to use a little less bread crumbs (I used about 1 - 1 1/4 cups), and a little more salsa (I had a little over 4 tablespoons left in the jar, so I just used what I had).

I made my dad's famous spanish rice to go with it, which I can't really post the recipe for, because it's definitely a watch-and-learn kind of thing. I just learned recently when we were in Pensacola.

Then last night, I made the salsa that Megan brought to our Laguna Playdate a couple weeks back. It's Pioneer Woman's recipe, and it is really good - especially if you love cilantro!

Restaurant Style Salsa

Ingredients
1 can (28 Ounce) Whole Tomatoes With Juice
2 cans (10 Ounce) Rotel (diced Tomatoes And Green Chilies)
¼ cups Chopped Onion
1 clove Garlic, Minced
1 whole Jalapeno, Quartered And Sliced Thin
¼ teaspoons Sugar
¼ teaspoons Salt
¼ teaspoons Ground Cumin
½ cups Cilantro (more To Taste!)
½ whole Lime Juice

Preparation Instructions
Combine whole tomatoes, Rotel, onion, jalapeno, garlic, sugar, salt, cumin, lime juice, and cilantro in a blender or food processor. Pulse until you get the salsa to the consistency you’d like—I do about 10 to 15 pulses. Test seasonings with a tortilla chip and adjust as needed.

I didn't have the jalapeno, but the rotel gave it a little spice.

Now to this morning, I decided to put eggs over spanish rice and slather it all with this delicious salsa. One of the best weekday breakfasts I've ever made myself!

Wednesday, March 03, 2010

I Had To...

I had no choice.

It wasn't my fault, though.

If Susie hadn't said anything on her Facebook about it, I would've never known.

Because, even though I link to Bakerella, I never go there, because it's a danger zone for me.

But I went there, and saw it, and was helpless to it's peanut-buttery-chocolatey-goodness.

I mean, can't you just see the moistness in it?


You can, right?

It's the buttermilk, people. The buttermilk.

Insanity, what?

I'm so weak.

Friday, February 26, 2010

Yummy Granola

A few days ago, my friend Andrea posted a recipe for granola bars. They sounded so good, I tried them out that same day, and I've made them every day since!!

Here's the recipe she posted:

2 1/2 c. Old Fashioned or Quick Oats
1/2 c. Rice Krispy Cereal
1/2 c. mini chocolate chips
1/2 c. butter, softened
1/3 c. brown sugar
1/4 c. coconut
1/4 c. honey
1/2 tsp. vanilla
1/2 tsp. salt

Mix all ingredients together. Stir until well combined. I used my hands to get it thoroughly mixed. Press into a 9x13 pan. (For thicker bars use a 8x8 pan.) Using the bottom of a flat metal measuring cup, gently press down to flatten and evenly smooth out the mixture. Bake at 350° for 18-20 minutes. Cool for 10 minutes and score into bars. Once completely cool cut into bars.

I cut mine into four rows of five since they will be served to little hands, but if you want to make these regular granola bar size you can cut them into three rows of five. Make sense?

For variety try adding:
Raisins
Marshmallows
Mini M&Ms
Dried fruit

recipe from Amy at Serving Pink Lemonade


So, her son is allergic to nuts and eggs. Since we're not, I decided to change up the recipe a bit.

2 cups of oats
1/2 cup (maybe more) of plain Joe's O's (Cheerio's)
1/2 cup semisweet chocolate chips
1/2 cup of natural peanut butter
1/4 cup of honey
1/2 tsp vanilla
1/2 tsp salt

The directions stay the same

They're a little crumbly, but they taste so good! I love how quick and easy it is to make.